
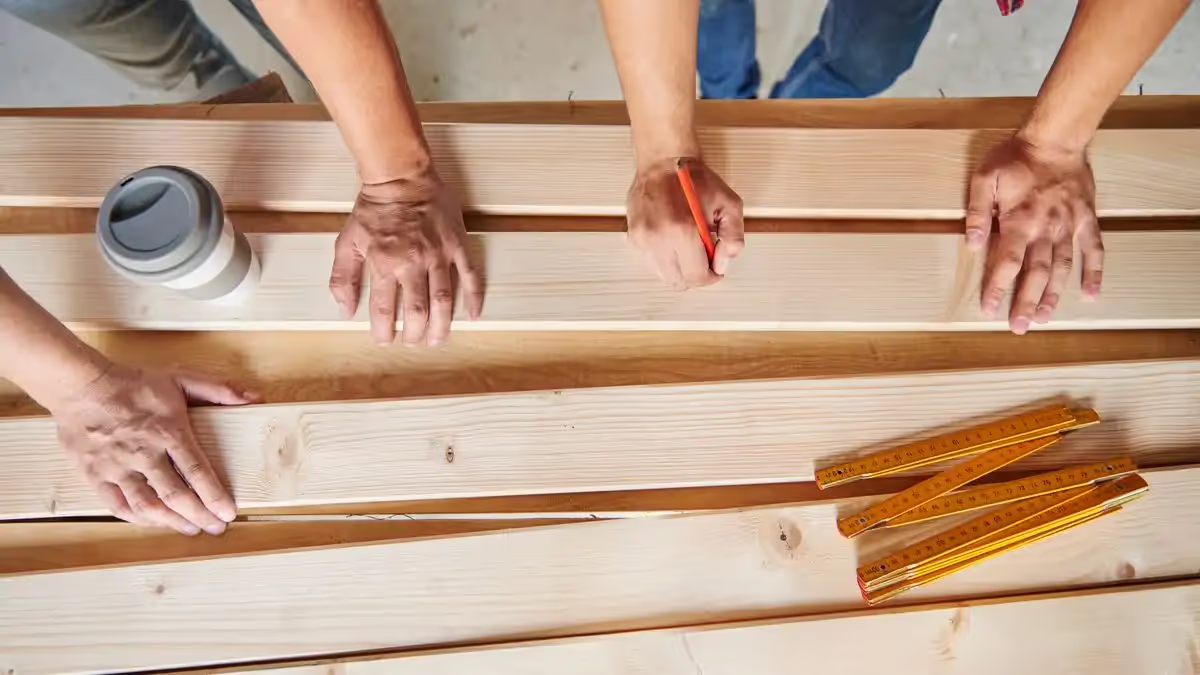
How to fit wood panelling: a step-by-step guide
Have you ever thought of reinventing the look of your walls using wood panelling? A genuine ally for warm and authentic interior decoration, wood panelling offers a multitude of styles, finishes and formats. What is more, it is fairly simple to fit and can compensate for small irregularities in a wall while improving the insulation of the room. In this article we will guide you step by step through how to fit wood panelling.
Wood panelling is a very fashionable wall covering, offering a multitude of styles, finishes and formats. Whether for a renovation or for a new build, fitting wood panelling is a practical and attractive solution. In this complete guide I will show you how to install wood panelling, detailing every step from preparation to fitting, by way of choosing the materials.
What is wood panelling?
Wood panelling is a wall covering prized for its warmth and its natural feel. It can be fitted lengthways, widthways or across, on all the walls of the room or on part of it only, and suits every decorating style. Interior timber cladding will also compensate for small irregularities in a wall while improving the insulation of the room.
Certain species are to be favoured for this use because of their good looks and their stability, such as larch, spruce, itauba or padauk.
Materials and tools needed
To carry out your project successfully, here is the list of materials and tools you will need:
Materials:
- Panelling boards
- Planed battens with a minimum section of 13x27mm
- Fixing clips
- Lost-head nails
- Hammer-in plugs
- Shims
- Staples
- Adhesive sealant
- Cornices or cover strips
- Quadrant beading
- External corner beading
- Skirting boards
- Connector block
- Back box
Tools:
- Craft knife
- Tape measure
- Pencil
- Spirit level
- Straightedge
- Square
- Glue gun
- Jigsaw
- Workbench
- Mitre saw and mitre box
- Cordless screwdriver
- Hammer drill
- Wood bit
- Masonry bit
- Countersink
- Staple gun
- Hammer
- Nail punch
- Hole saw
- Cutting pliers
- Wire strippers
- Electrician's screwdriver
- Stepladder
Preparing to fit the wood panelling
First, be sure to unpack your panelling boards at least 24 hours before fitting. This will allow the wood to adapt to the ambient humidity. Store the boards on battens.
Second, turn off the electricity and remove the sockets and switches. Secure the connections with push-in connectors.
How to fit a batten framework for a timber wall covering?
The boards will be installed on a framework of battens. This framework, called the battening, must be perpendicular to the direction in which the panelling is laid: vertical, horizontal or diagonal. The rows of battens are spaced 50 cm apart with a gap of 4 to 5 cm between two battens to allow air to circulate behind the timber boards.
Starting from the bottom marking, draw a line every 50 cm. Spread the difference as evenly as possible for the second-to-last batten at the top. On a perfectly flat wall, you can fix the battens with adhesive sealant. For walls with hollows or bumps, the plumb is set between the top and bottom battens and the other battens are adjusted using taut string lines. Shims are placed behind the battens to set the plumb. If you wish to improve the insulation of a wall, choose a batten thickness matching that of your insulating panels.
One form, several offers.
- Two minutes, no account
- Direct, no middleman
- Your identity stays private
Fixing the timber boards of a wall panelling
Once the framework is in place, it is time to move on to fixing the timber boards of the wall panelling. Start by trimming off the tongue of the first board (at the back) with a jigsaw. Fitting is done from left to right, with the groove visible in the direction of travel. Set the plumb with the spirit level.
On the groove side, present a fixing clip, slide it into the groove, push it fully home with the hammer then fix it with the staple gun. Fix in this way opposite each batten.
The finishing touches for wood panelled walls
Once the boards are fitted, you can move on to the finishing touches, which will bring a genuinely attractive touch to your wood panelled wall.
1. The corners: for internal corners, fit a board cut to the width of the corner on one wall, then another board on the other wall butted against the first. For external corners, use external corner beading.
2. Around doors and windows: there are several options for dressing the area around doors and windows. You can use a cornice, a cover strip or quadrant beading.
3. The top of the wall: if you do not plan to fit panelling to the ceiling, consider installing a cornice or a cover strip to finish the top of the wall neatly.
4. The bottom of the wall: to finish the bottom of the wall, you can use a skirting board. This will hide any imperfections and give your panelled wall a finished look.
5. Sockets and switches: put the back boxes and the connector blocks back in their places. Use a hole saw the size of the back box to make a hole in the panelling board at the required spot. Then refit the sockets and switches, observing the safety standards.
6. Surface finishes: depending on the type of panelling you have chosen, a surface finish may be needed to protect it. This can be a woodstain, a varnish, paint, or simply wood oil.
How to deal with sockets and switches?
For sockets and switches, take care to note their position before starting to fit. Cut an opening in the corresponding board using a hole saw the size of your back box.
How to carry out the finishing touches?
Once all the boards are in place, you can carry out the finishing touches. Place external corner beading on the corners, fixed to the wall and not to the panelling in order to leave the expansion gap free. Quadrant beading can be nailed around the edge of the panelling for a neat finish. Finally, you can fit a skirting board at the bottom of the wall for a perfect finish.
Fitting wood panelling calls for a little know-how and tooling, but it is entirely achievable by an amateur DIYer. With patience and precision, you can transform a room of your house with a warm and natural wall covering. Do not hesitate to get help from a professional if you have doubts about your ability to carry out this work.
Remember that it is essential to observe the safety instructions, particularly where working with electricity is concerned. Make sure the power is off before starting and have your work checked by a professional if you are unsure.
Finally, do not forget that wood is a living material. It therefore needs regular maintenance to keep its fine appearance and its durability. You can apply a varnish, an oil or a wax, according to the look you want to give your panelling. For regular maintenance, simple dusting may be enough, supplemented by cleaning with a suitable product if necessary.
Congratulations, you now have a wood panelled wall! Take the time to appreciate the character and the warmth that this new covering brings to your room. Remember, every DIY project is a chance to learn and to improve your skills. Happy DIY!