
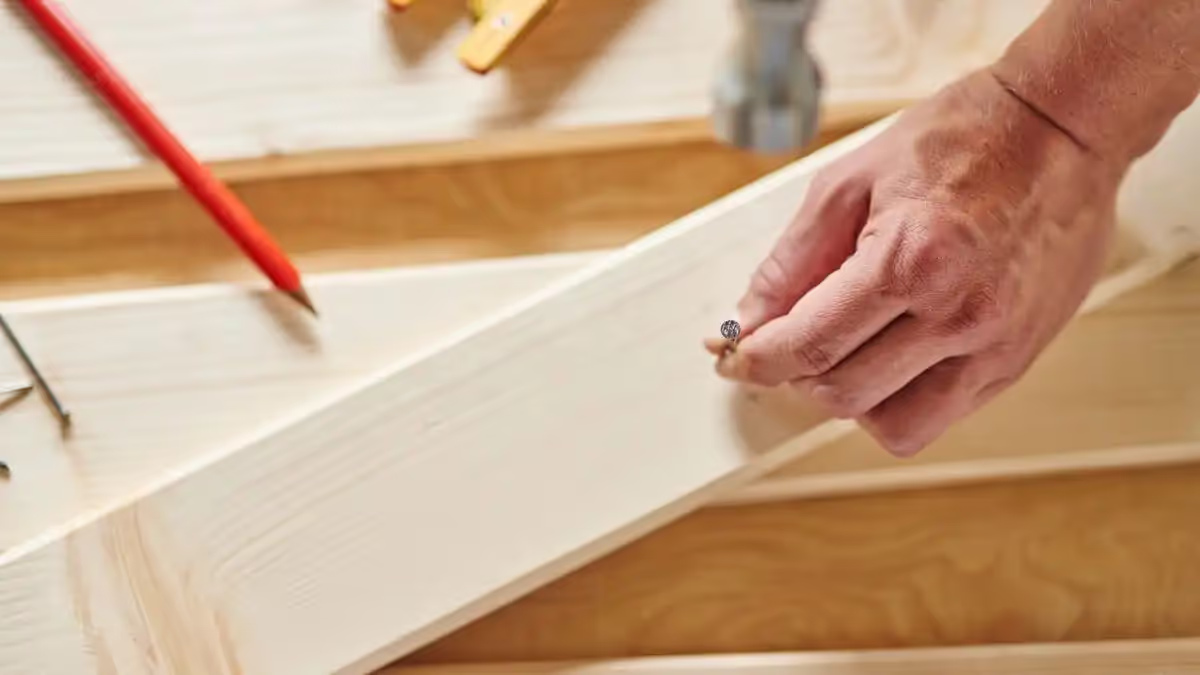
Here is the timeless elegance of panelling, a versatile wall covering. Transform your spaces with charm and insulation while hiding imperfections. Explore the different types of panelling and find inspiration for creating exceptional interiors.
How to fit wood panelling: a complete guide in 8 steps
Panelling is a wall or ceiling covering, generally in wood, that brings both a decorative and a practical touch to the inside of your space. There are several types of panelling, each with its own characteristics and advantages. What is more, different types of wood can be used for panelling, such as ayous. In this article we will show you in 8 steps how to fit wood panelling.
Step 1: preparing the substrate
Before starting to fit the panelling, be sure to prepare the substrate carefully. This means taking into account the sockets, switches and light fittings on the wall. Here is how to proceed:
- Remove the sockets and switches : use a screwdriver to remove the electrical fittings, noting the position of the wires.
- Allow space for the wires : when you remove the sockets and switches, be sure to leave enough room for the electrical wires. Use connector blocks to secure the wires.
- Mark out the position of the battens : use a spirit level and a pencil to mark the position of the battens on the wall. Be sure to space the battens evenly.
Step 2: choosing the direction of the panelling
The direction in which the panelling is fitted affects how the room is perceived. Here are the options to consider:
- Vertical installation : this can give the illusion of a taller but narrower room. The framework must be horizontal.
- Horizontal installation : if you want the room to appear wider but lower, opt for a horizontal installation. The framework must be vertical.
- Diagonal installation : for a modern look, choose a diagonal installation. This method requires more cuts, however. Opt for an angled or double framework.
Step 3: installing the timber framework
The timber framework serves as the support for the panelling. Here is how to install it:
- Mark out the position of the battens : mark the positions of the battens on the wall using a spirit level and a pencil.
- Space the battens : be sure to leave a gap between the edges of the panelling, the ceiling and the partitions for an expansion joint.
- Fix the battens : drill and plug the battens at the marked positions. Be sure to space the battens well to allow air to circulate.
Step 4: choosing the type of layout
There are two types of layout: the offcut method and the brick-bond method.
- Offcut method : start by fitting full-length boards, then cut the last board of each row to begin the following row.
- Brick-bond method : align the joints of the panelling boards on every other row for a staggered effect. This method requires more cuts.
These first steps are crucial in preparing the ground. In the rest of our guide we will look at the fitting steps themselves as well as the finishing touches for a flawless result. Stay with us to master the art of fitting wood panelling! Advice : before moving on, take the time to prepare your substrate properly and to choose the direction that best suits your space.
Step 5: fitting the first row of panelling
Now that your substrate is ready, let us move on to fitting the panelling itself.
- Choosing the fixing method : depending on your preference, you can fix the panelling by nailing, stapling or clipping.
- Positioning the first board : start from a corner, leaving the tongue accessible so the following boards slot in easily.
- Fixing the board : use the fixing method you have chosen. Make sure the first board is perfectly straight by using a spirit level.
Advice : opt for the fixing method that best suits your skills and your tools. A well-aligned first board is the key to a successful final result.
Step 6: fitting the following rows
Let us continue with fitting the following rows of panelling.
- Slotting the boards together : use a wooden block and a mallet to seat the second board into the first row.
- Fixing the boards : follow the same fixing method as before. Be sure to maintain the plumb and the alignment using a spirit level.
Advice : be sure to maintain perfect alignment between the boards for a professional result. Check the plumb regularly during the installation.
Step 7: fitting the last row
The last row calls for particular attention if the finish is to be neat.
- Measuring and cutting : take precise measurements of the space remaining between the panelling and the wall or ceiling. Add a gap for the expansion joint and cut the boards accordingly.
- Final fitting : install the last row, making sure it fits well. Fix it firmly.
Advice : cutting precisely and fitting the last row carefully are essential for a professional look. Take the time to measure accurately.
Step 8: carrying out the finishing touches
To complete your panelling installation, carry out the necessary finishing touches.
- Quadrant and corner beading : to dress the corners, use quadrant beading on internal corners and corner beading on external corners.
- Fixing the beading : fix these elements with lost-head nails or special adhesive.
- Refitting the sockets and switches : refit the electrical fittings, making sure the wires are correctly positioned.
Advice : the finishing touches give your project its final polish. Take the time to carry them out with care for a complete and professional result.
One form, several offers.
- Two minutes, no account
- Direct, no middleman
- Your identity stays private
Enhance your spaces with panelling: elegance and practicality combined!
Congratulations, you now have all the steps you need to fit wood panelling successfully! Follow our step-by-step guide, and you will be able to dress your walls, ceilings or dados with elegance. Do not forget to favour precision and patience for a result that lives up to your expectations. Final tip: take photos throughout the process to document your progress and share your success with other DIY enthusiasts.