
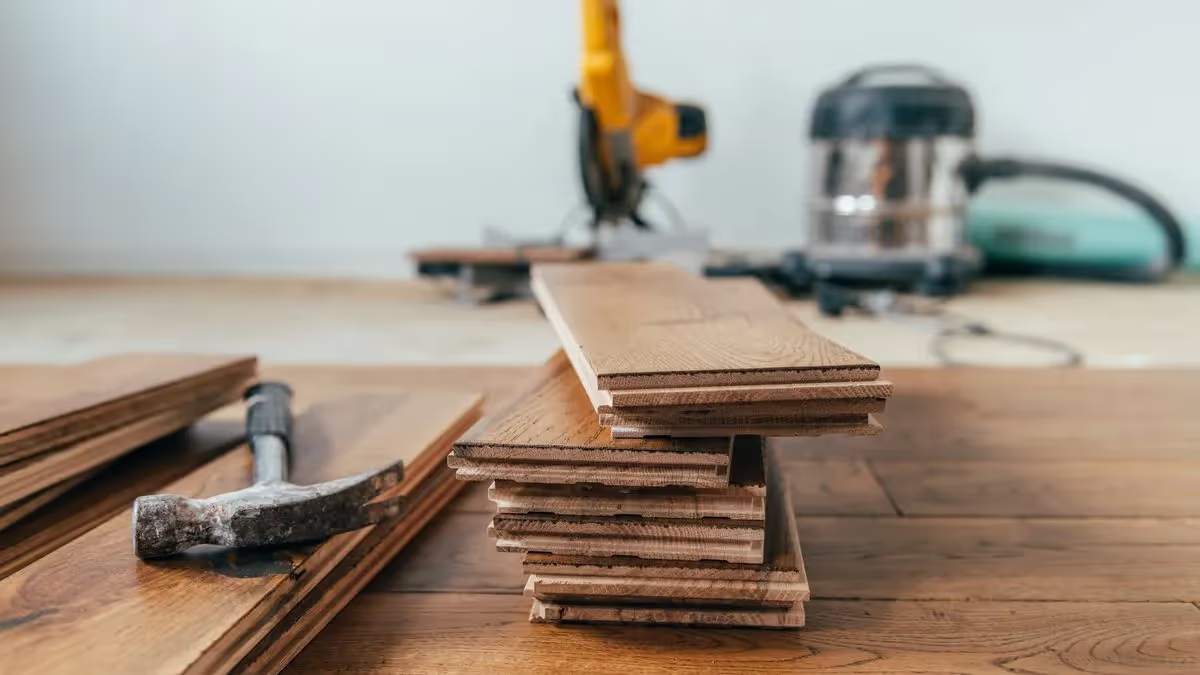
Turn your wood floor into a durable and dazzling work of art through varnishing. Discover our complete guide to mastering this craft, which combines protection, good looks and personal pride.
How to varnish a wood floor: a complete technical guide
Varnishing is a wood treatment process used to protect and enhance wood floor surfaces. It involves applying a coat of varnish or of clear finishing product to the wood in order to seal it, make it more resistant to everyday wear, and give it a glossy, smooth appearance. In this guide we will take you through each step of the process, focusing on the techniques and tips that will allow you to achieve a dazzling final result.
The fundamentals of varnishing a wood floor
Advice before starting
To begin with, let us understand the very essence of varnishing a wood floor. Sealing or varnishing — the terms differ, but the process remains the same. Varnish, applied to any type of wood, whether solid or engineered, provides essential protection. Leaving a floor bare is not a viable option, as it would lead to a build-up of dust and premature wear. It is important to understand that varnishing can be repeated over time, which makes it a long-term renovation solution. Tip: when planning to renovate a wood floor, be sure to treat the whole surface of the room rather than carrying out local repairs. This guarantees a uniform and visually consistent result.
Thorough preparation of the floor
Before starting the varnishing itself, meticulous preparation is imperative. If you are renovating an existing floor, begin with thorough sanding to remove all trace of previously applied varnish, oil or wax. This process levels and flattens the floor, repairing any imperfections along the way. Even for a new floor, sanding is a crucial step, in order to correct differences in thickness and guarantee an even surface. Tip: when sanding, be sure to use 180-grit sandpaper for the skirting boards, then continue with the floor, following the grain of the wood.
Removing the dust and applying the sanding sealer
After sanding, remove the dust carefully using a brush and a vacuum. For optimal adhesion of the varnish, apply a sanding sealer, which acts as an undercoat does in painting. This step is essential in guaranteeing that the varnish bonds with the wood. Tip: use a cloth to apply a degreaser over the whole surface of the floor after sanding, then protect the skirting boards using masking tape.
Carrying out the varnishing
Applying the varnish
The time has come to apply the varnish that will give your floor its protection and its lustre. Pour the sanding sealer into a paint tray and mix it according to the manufacturer's instructions. Start with the corners and the skirting boards, then apply the varnish evenly with a roller, following the grain of the wood. Tip: when applying the varnish, be sure to observe the drying time recommended by the manufacturer in order to achieve an optimal result.
Sanding before the second coat of varnish
Once the first coat of varnish has dried, sand the surface again with 220-grit sandpaper. Although this may seem counter-intuitive, the process opens the pores of the wood, thereby helping the second coat of varnish to adhere. Tip: sanding before the second coat is crucial in guaranteeing a perfectly smooth and even surface.
Applying the second coat of varnish
The final varnishing step involves applying the second coat of varnish. Follow the same steps as for the first coat, being careful to apply the varnish evenly and to follow the grain of the wood. This second coat provides additional protection and a lasting appearance. Tip: mix the varnish thoroughly before applying it in order to avoid differences in sheen and thereby obtain an even finish.
A touch of shine and a bright future: your wood floor varnished to perfection
By following these methodical steps, you can master the art of varnishing a wood floor. This renovation technique offers both lasting protection and improved good looks. The investment in time and effort is certainly worth it, because the final result is a revitalised surface that will last. Whether you are a curious beginner or a seasoned DIYer, varnishing a wood floor is within your reach. Follow our advice, observe the steps and get ready to admire the dazzling result of your hard work. Your floor deserves the best, and varnishing will give it exactly that.
One form, several offers.
- Two minutes, no account
- Direct, no middleman
- Your identity stays private
Advice for lasting success
Durability and longevity
One of the main concerns when varnishing a wood floor is ensuring its durability. Each coat of varnish offers additional protection against everyday wear. By following carefully the steps we have detailed, you guarantee maximum longevity for your floor. Do not neglect these essential steps, because they are the key to preserving the appearance and the function of your floor for years to come.
Revealing the natural beauty
Varnishing is not limited to protection, it also serves to reveal the natural beauty of the wood. Every step, from sanding to applying the varnish, helps bring out the grain and the texture of the wood. You can be sure that your floor will stand out as a visual centrepiece of your space, while remaining functional and durable.
The pleasure of a job well done
Personal satisfaction
When you varnish your floor following this guide, you gain far more than a revitalised surface. You gain a sense of personal satisfaction from a job well done. Every step taken with care, every detail refined, brings you closer to completing a meaningful project. When you walk on your varnished floor, you will know that you have achieved something exceptional.
The legacy of a beautiful home
By varnishing your floor, you create a lasting legacy for your home. A well-maintained and varnished floor can stand the test of time and become a timeless focal point of your interior. Every step you take on that gleaming surface is an affirmation of your commitment to quality and good looks. You leave a lasting mark for the generations to come.
Varnishing a wood floor: the art of enhancing and protecting with elegance
Varnishing a wood floor is far more than a simple renovation. It is a combination of expertise, effort and passion to create something beautiful and durable. By following this guide, you have acquired skills that go beyond varnishing itself. You have discovered how to turn a technical task into a meaningful personal undertaking. We hope this guide has inspired you to take on this project with confidence and enthusiasm. By varnishing your floor, you are giving it far more than a simple coat of varnish. You are giving it a new life and a bright future. Work through each step with care, follow our advice and be proud of the final result. Your varnished floor is far more than a gleaming surface, it is the reflection of your commitment to quality and excellence.