
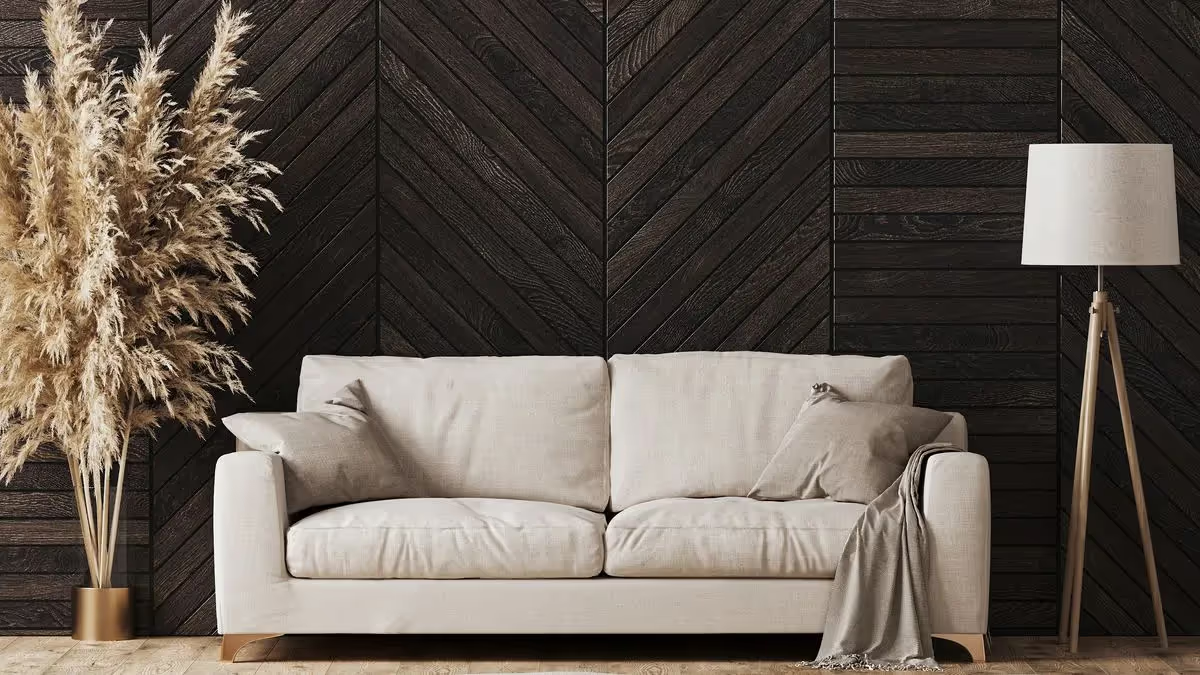
Wood panelling is making a strong comeback in our interiors, with a variety of styles, finishes and formats. Not only does it improve the insulation of a room, it also adds a warm touch to décors, whether traditional or contemporary. Unlike PVC panelling, wood panelling brings an authentic and welcoming atmosphere.
The art of fitting wood panelling: from preparation to finishing
Before embarking on your wood panelling project, it is crucial to take several aspects into account in order to guarantee a flawless result.
Choosing the direction and the method of installation
One of the first decisions to take is the direction in which to fit your wood panelling. You have several options, each of which affects how the space is perceived:
- Vertical installation: it adds height to the room, but can make it feel narrower. Ideal for a single wall.
- Horizontal installation: it gives the room perspective, but can make it feel lower. Perfect for high ceilings or walls with a light source.
- Diagonal installation: modern and original, it calls for precise cuts during installation.
As regards the method of installation, you have the choice between nailed or clipped installation and glued installation. The former is more common because it suits a variety of substrates. The latter, although popular in the past, is now discouraged because it ventilates the panelling poorly.
Materials and cuts
To fit wood panelling successfully, prepare the right materials, in particular the panelling boards, planed battens, fixing clips or lost-head nails, hammer-in plugs and so on. Cuts are essential in order to work around obstacles such as doors, windows, sockets and switches. Also make sure you plan the finishing touches, such as skirting boards and trim beading, in order to achieve a professional result.
The steps in fitting wood panelling
Fitting wood panelling may seem complex, but by following these steps you will achieve a magnificent result.
1. Preparation before installation
Before starting, be sure to remove the sockets and switches after turning off the power supply. Take safety measures when handling bare wires and be sure to note their position. Preparation is crucial for a trouble-free installation.
2. Installing the batten framework
The batten framework is the basis of your panelling installation. This step calls for care and patience. Depending on the direction of installation chosen, place the battens perpendicular to the wall. Be sure to respect the spacing and to fix the battens correctly in order to guarantee the stability of the whole.
3. Fitting the wood panelling boards
Once the framework is in place, begin fitting the wood panelling boards. For a nailed installation, be sure to nail the first board correctly for perfect alignment. For a clipped installation, use the clips along the groove of the board. Make sure the boards slot together correctly and check the plumb regularly.
4. Fitting the last row and the finishing touches
When you reach the last row, be sure to cut and slot the final board correctly. Always respect the expansion gaps in order to avoid future problems. Once all the boards are in place, add the finishing touches such as skirting boards and trim beading to achieve a neat and professional look.
One form, several offers.
- Two minutes, no account
- Direct, no middleman
- Your identity stays private
Tips for a successful wood panelling installation
Adapt your panelling to its environment
One of the keys to success when fitting wood panelling is to choose boards that match the humidity of the room. Before installation, store the boards on battens for at least 48 hours in the room where they will be fitted. This will allow the panelling to adapt to the ambient humidity, thereby reducing the risk of distortion after installation. What is more, some types of wood are better suited than others to panelling, such as larch, padauk, itauba or spruce.
Anticipate the cuts for a precise result
Cuts are unavoidable when fitting wood panelling, particularly around doors, windows, sockets and switches. To achieve a professional result, take the time to measure and cut with precision. Mark out your cuts with a pencil and a square, then use a jigsaw for clean cuts. Careful cuts guarantee a perfect fit.
Opt for harmonious finishing touches
The finishing touches are what give your project a polished and professional look. Choose skirting boards and trim beading that go well with the wood panelling. Well-chosen finishes create a smooth transition between the panelling and adjacent elements such as floors and doors. Make sure the colours and styles match for a coherent and attractive look.
An exceptional result within reach
Fitting wood panelling may seem intimidating, but with the right information and the right steps you can complete this project successfully. Follow the detailed advice in this article, adapt your approach to your space and to the characteristics of the panelling, and do not forget the finishing touches for an exceptional result. Transform your interior spaces into warm and elegant havens by exploring the timeless world of wood panelling. Give free rein to your creativity while following the fundamental principles of professional installation. You will quickly discover the pleasure and satisfaction of creating a captivating atmosphere with your own expert hands.
A transformed interior: the elegance of wood panelling within your reach
Fitting wood panelling is a rewarding undertaking that can transform your interior spaces. Our article aims to be not only informative but also inspiring. Thanks to our expertise and our people-focused content, we hope you will feel not only informed but also encouraged to embark on this DIY adventure with confidence. Follow our advice, master the steps and discover the pleasure of creating a warm and elegant interior thanks to the timeless beauty of wood panelling.